AGM Battery Handling and
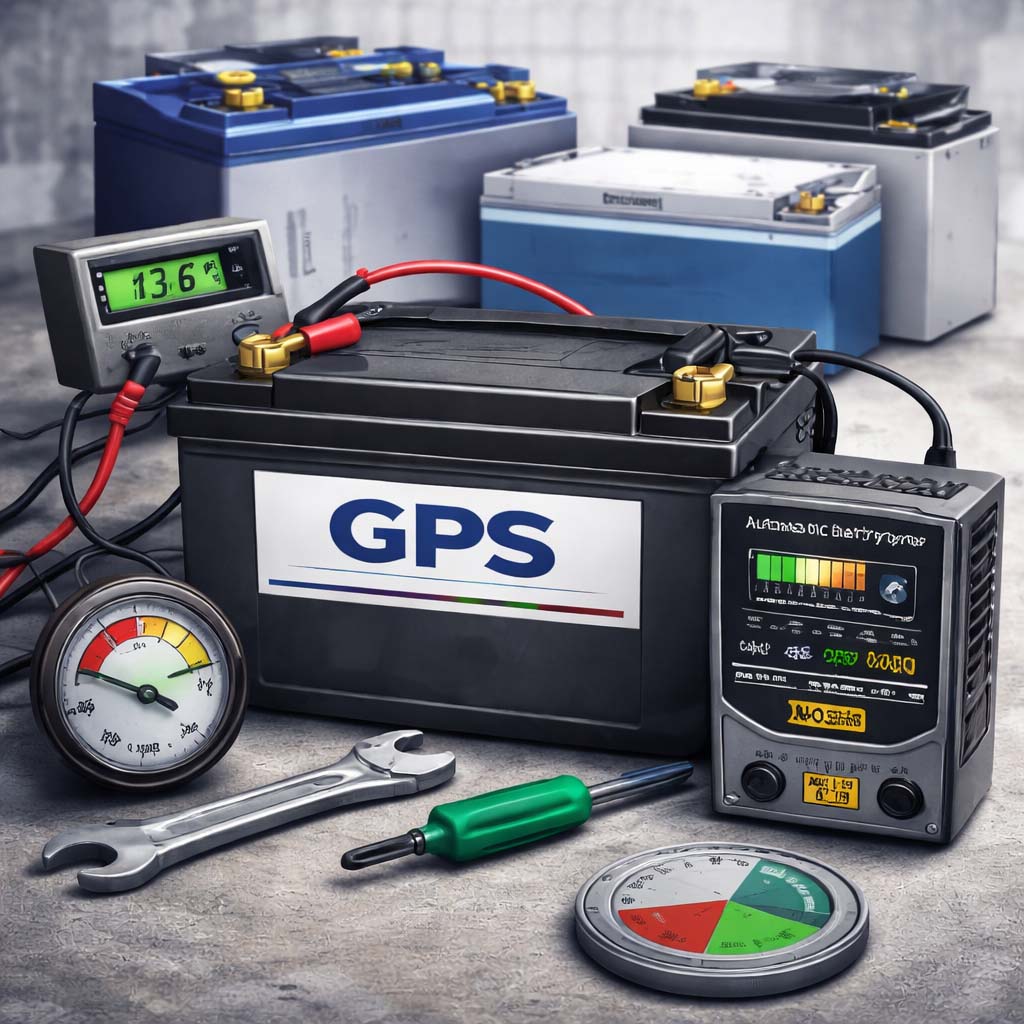
Care and keeping of your Maintenance-Free Battery You have purchased the GPS “Next Generation Battery Technology” product. Maximum battery life
Learn More →
Care and keeping of your Maintenance-Free Battery You have purchased the GPS “Next Generation Battery Technology” product. Maximum battery life
Learn More →
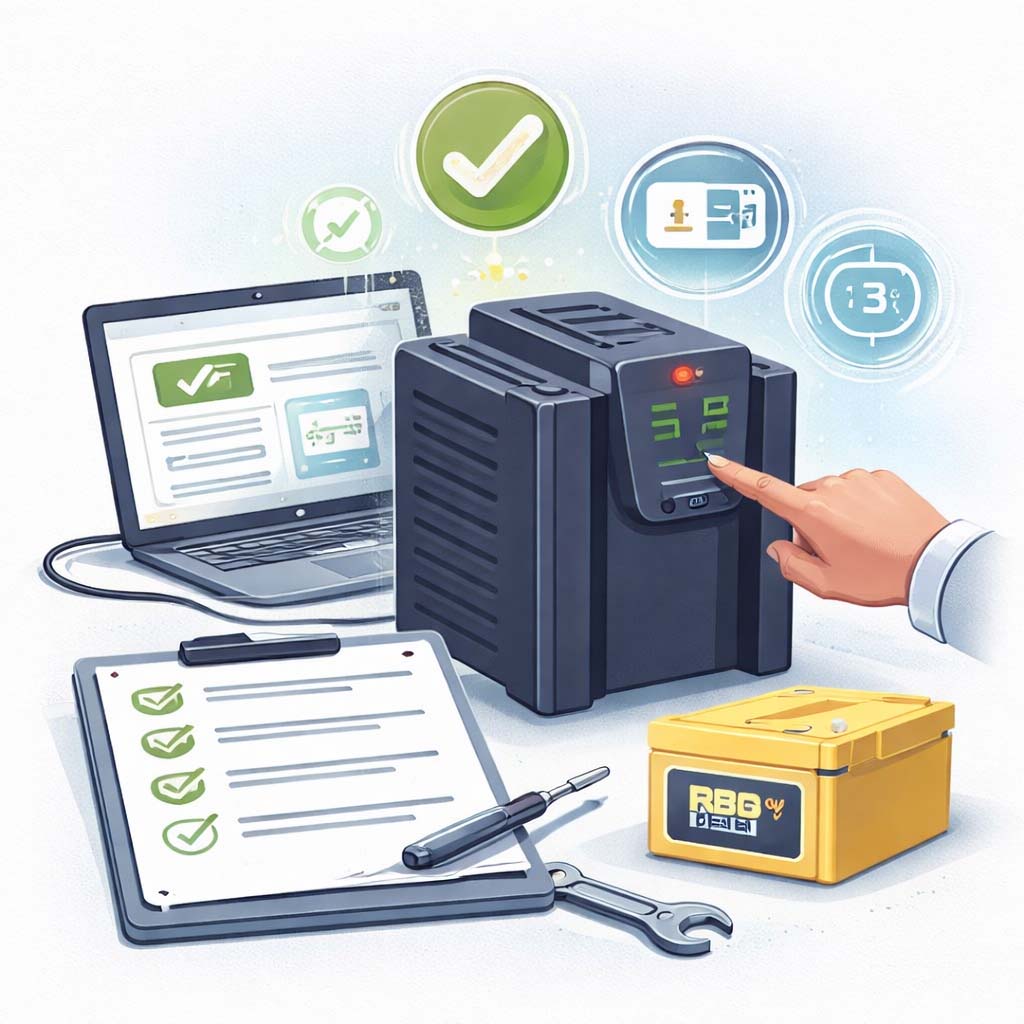
>> Click on the first image and then use the right arrow to review the rest of the images in
Learn More →
>> Click on the first image and then use the right arrow to review the rest of the images in
Learn More →
>> Click on the first image and then use the right arrow to review the rest of the images in
Learn More →